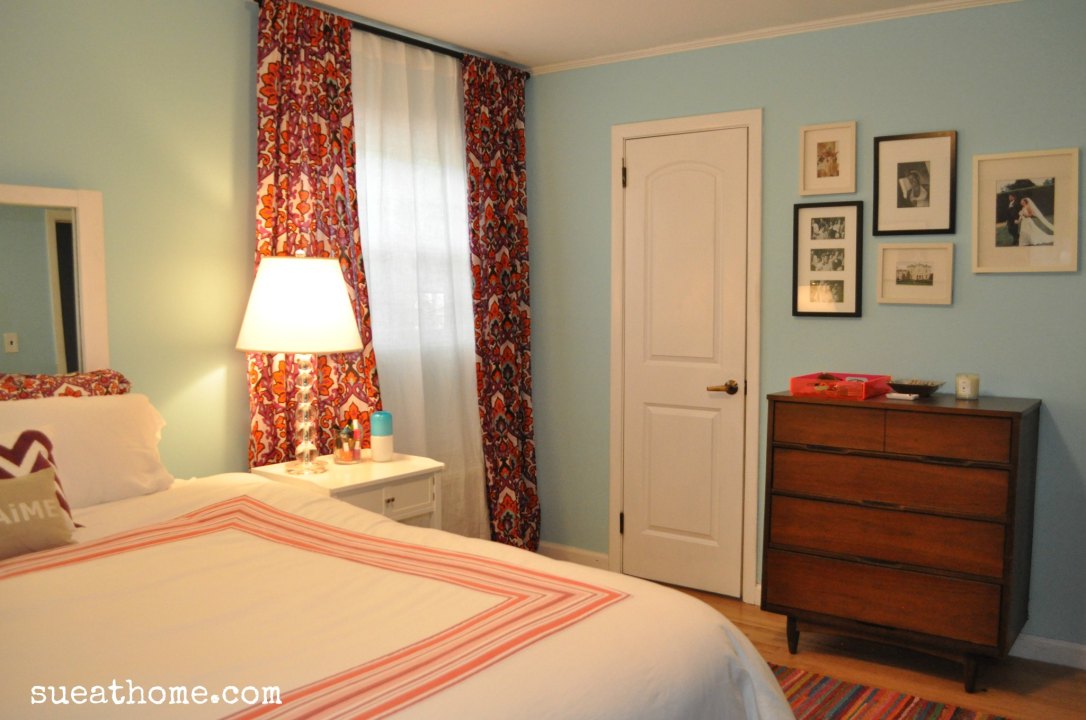
I recently completed Phase 2 of organizing my jewelry (which you read about here yesterday) and I managed to find a home for just about everything–except for a handful of long necklaces. I spun around my room scanning for a place to put them and this frame that I had sitting on our dresser jumped out at me. You see, I had put it there recently because I felt like I needed something in front of my For Like Ever poster (read more about that here) to break up the vastness of it. It’s not fancy–I just cut a piece of old wrapping paper and stuck it in the frame. Thankfully, it worked and it was all starting to look a little more like a pretty vignette rather than a massive poster propped against a wall. Here’s what it looked like with the addition of the frame:
You’ll also notice another new little friend. That’s the teeny tiny piggy bank I bought at Daytrip Jr during our trip to Maine. Isn’t he cute?
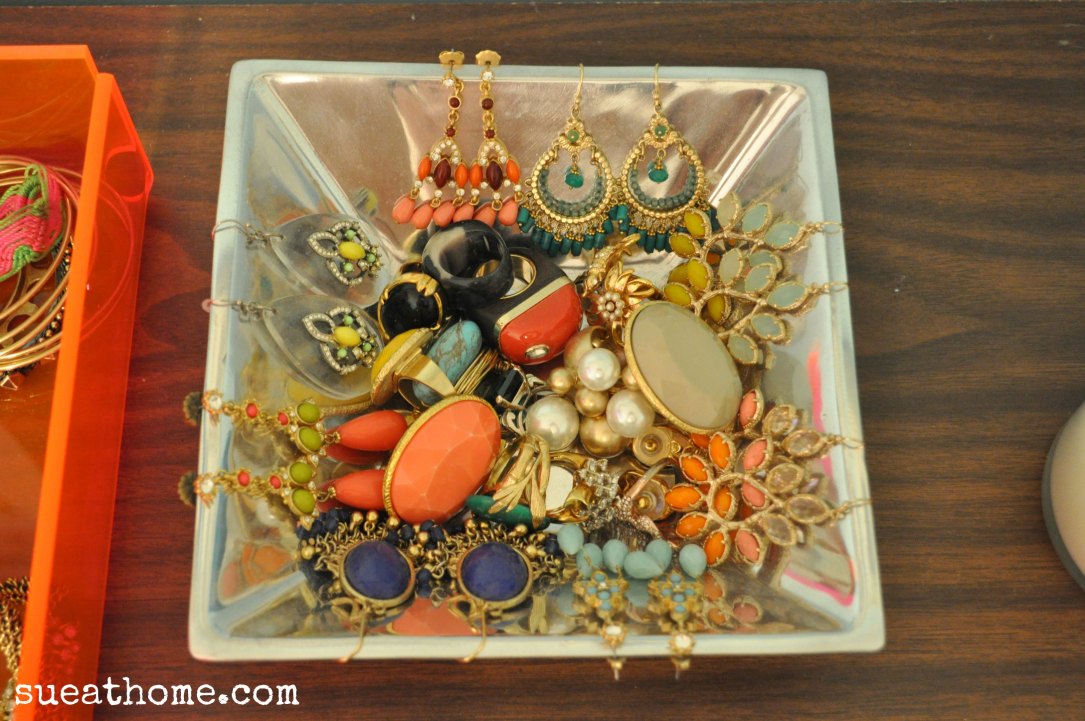
You might recognize that wrapping paper that I used as the drawer liner from Phase 1 of The Great Jewelry Organization Project (read more about that here.) See it hidden under all my baubles?
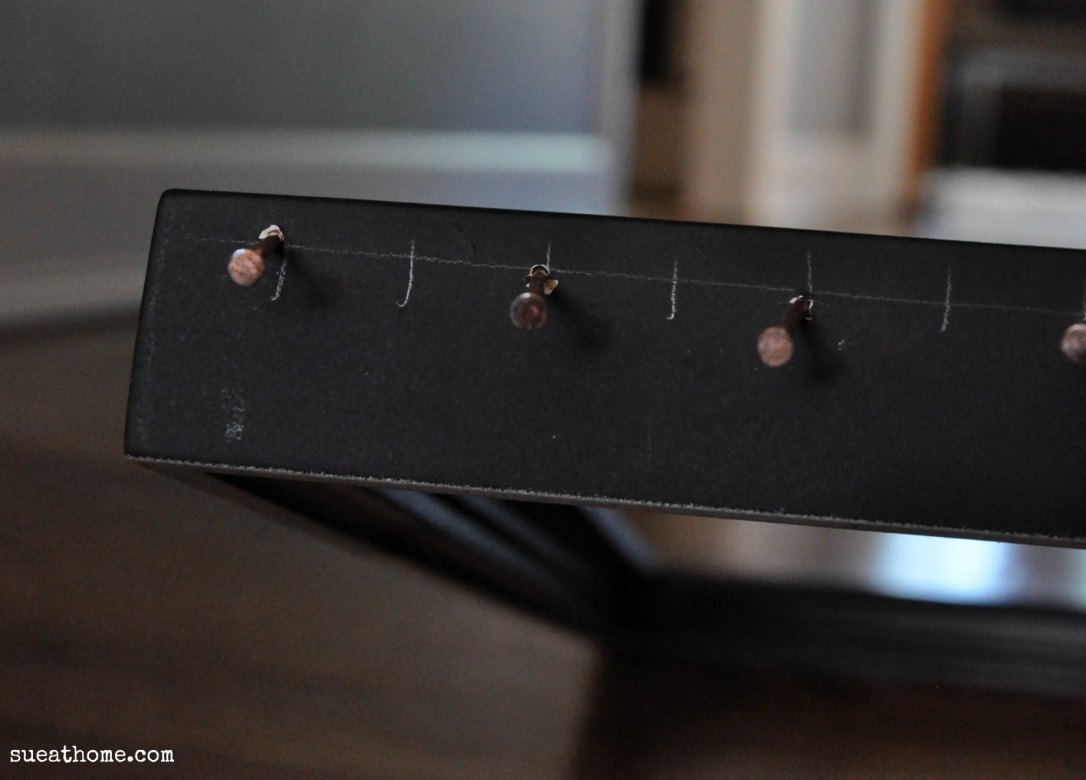
Anyway, back to the frame. I noticed that it was kind of long–like the necklaces–so I figured I could make something out of it. I grabbed some pretty rose-goldish nails that I had bought for a forthcoming String Art project and got to work. FYI: The frame I used was the Wood Gallery 4×6 triple frame from Pottery Barn. At 18″ high and only 11″ wide, it’s the perfect size. (Yes, my hammer is pink. You got a problem with that?)
I removed everything from the frame (I would not recommend trying this with the glass still in there!) and drew a straight-ish line across the top in pencil. Then I measured 1 inch spaces across the top so the nails would be somewhat uniform. As I nailed, I decided to put some a little off the line because I figured I might split the wood if I stayed on the same line. Did it come out pretty and perfect? Nope! But as you’ll see below, you can’t tell that the nails are a little lot crooked when it’s all put together.) I was very careful to make sure they were nailed in far enough to hold a necklace but shallow enough so they weren’t coming through the other side.
When I was done, I put the frame back together and started hanging the necklaces.
I’m glad I put the nails an inch apart instead of closer because I needed a little space between each necklace.
I think the little piggy likes it too!
XO
Sue at Home
Have you done any fun DIY projects recently? Let me know in the comments below!


