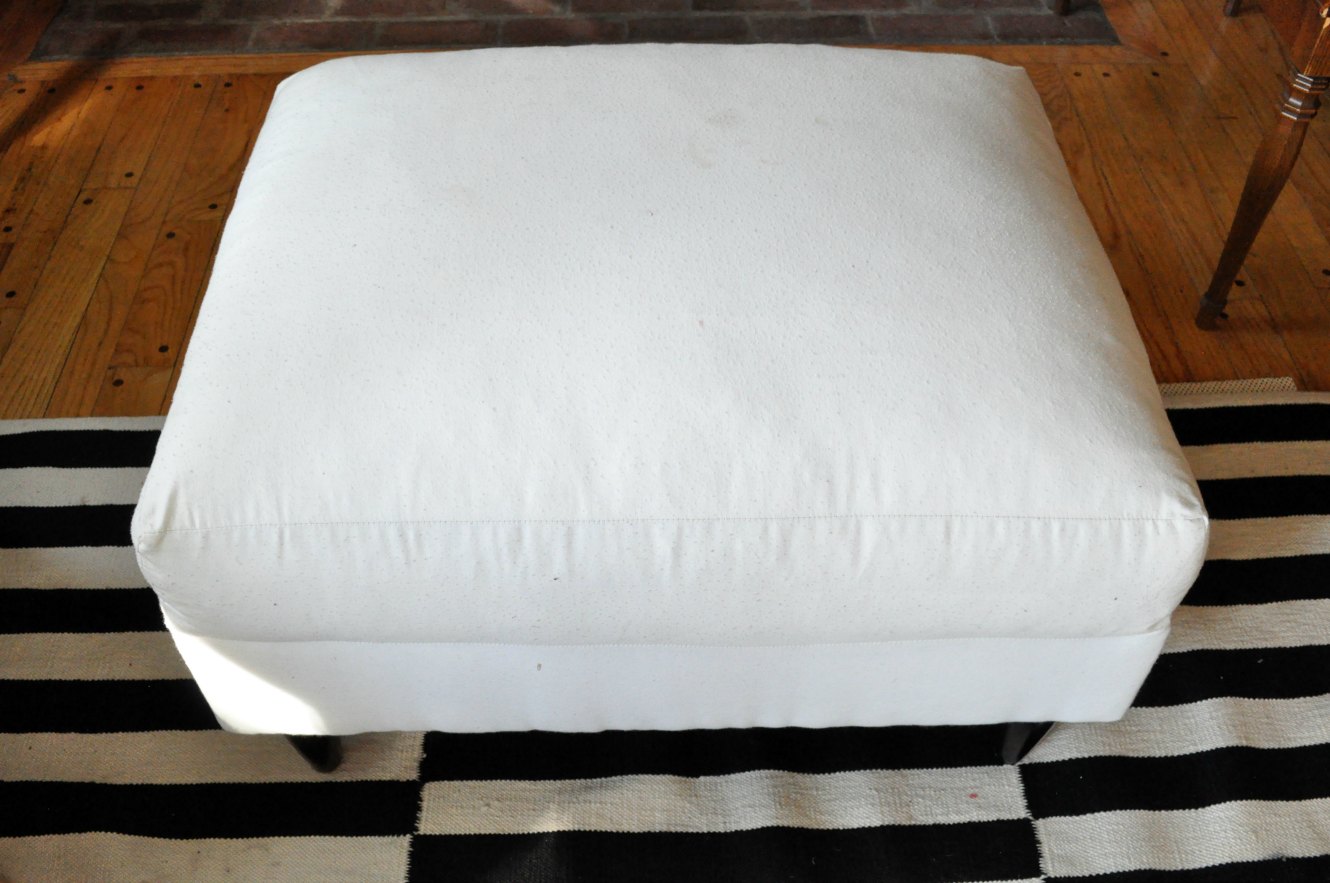
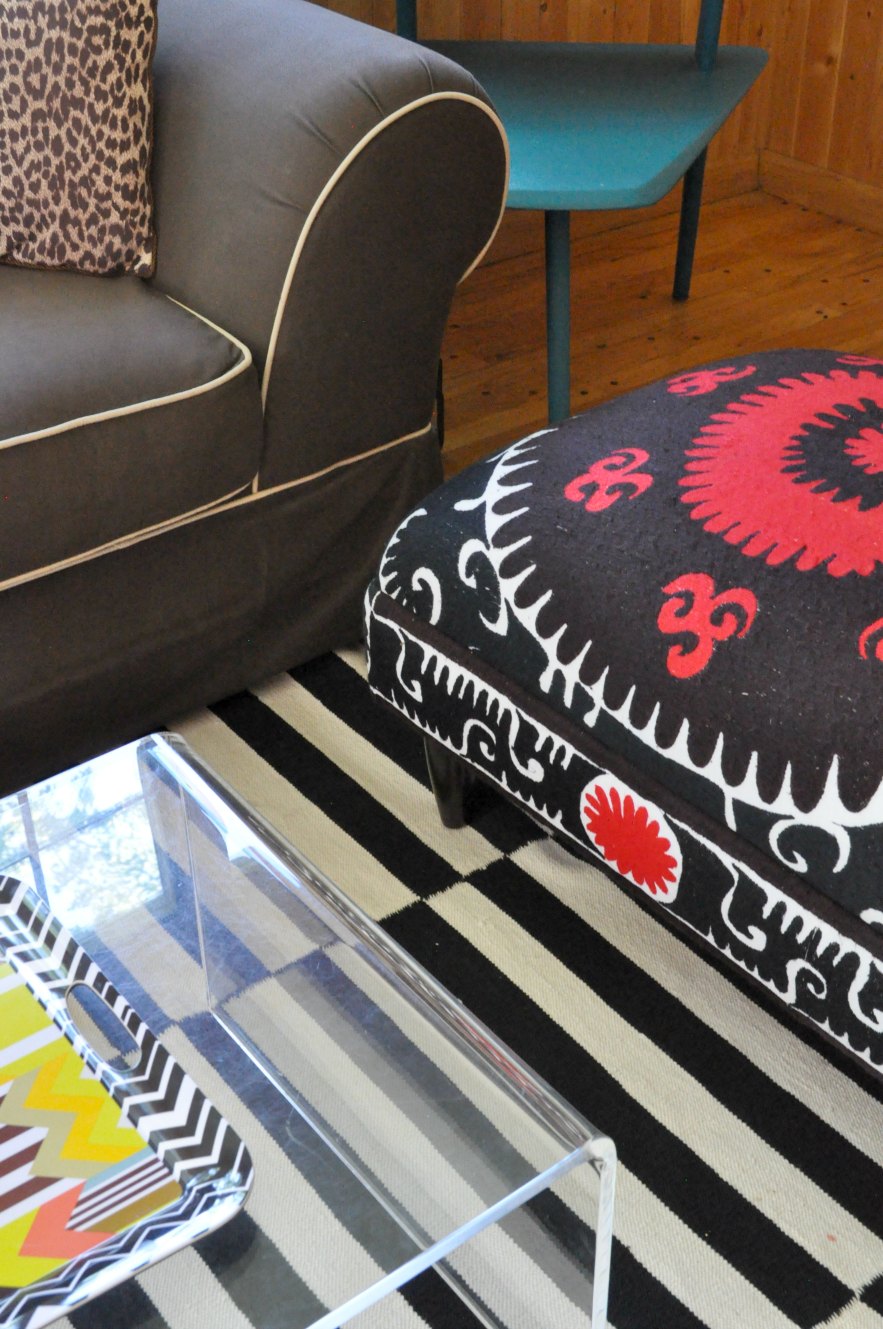
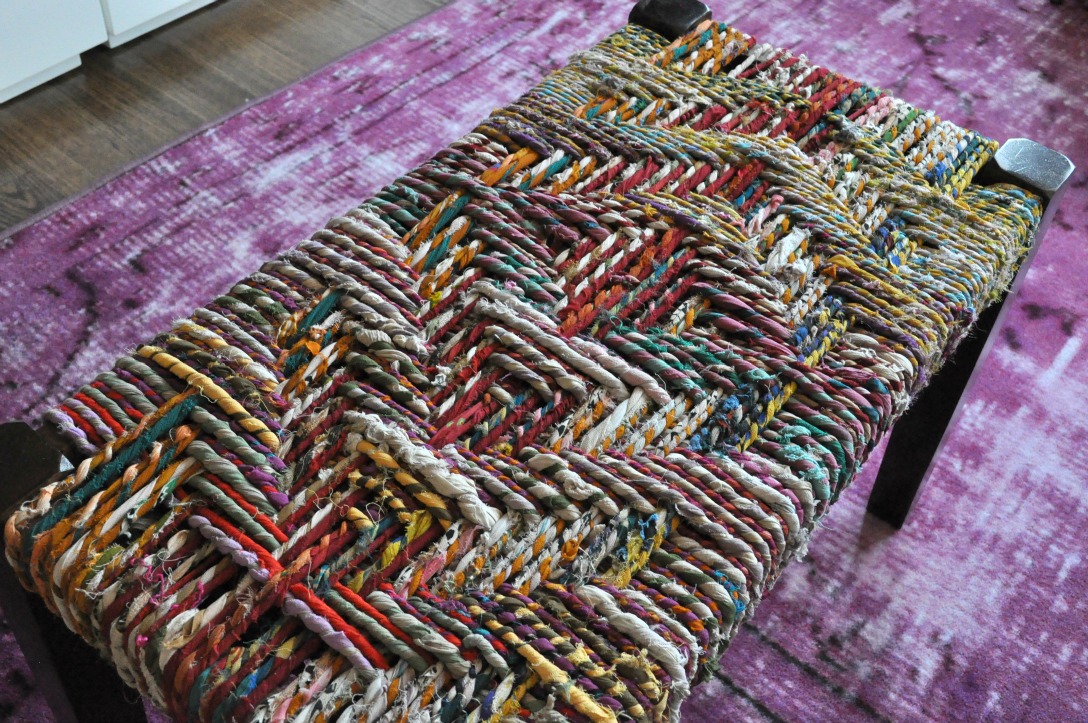
Meet our ottoman.

It came to us at a price of zero dollars which is my favorite kind of price. (We were lucky enough to snatch it up when my parents moved on to bigger and better things.) But unfortunately, I wasn’t that into the washed red cotton skirted slipcover that came with it so it sat naked (slipcoverless) in our den for longer then I care to admit.

I considered a million different options of how to cover it. A slipcover? DIY upholstery? Professional upholstery? And most importantly, what fabric?
Perhaps a suzani?
I had fallen in love with vintage suzani textiles ever since I stayed at the Colony Palms hotel in Palm Springs. “Delicious” designer Martyn Lawrence Bullard (of Million Dollar Decorators fame) plastered the hotel with suzanis–as headboards, in picture frames, as throw pillows and just draped all over everything. (Images via colonypalmshotel.com.)


Pretty fabulous, right?
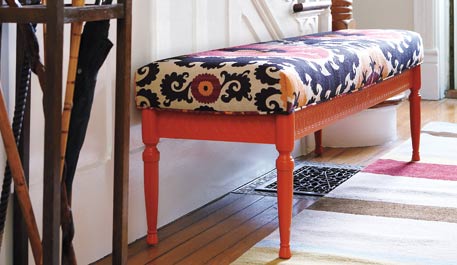
Then I spotted this image over a year ago on a blog and saved it on Pinterest with the text: “I’m thinking the mid-century man cave needs a little boho printed love. Maybe cover the ottoman in a Suzani?” (Just goes to show how long brewing a makeover can be!) Note: I pinned it from another site who used it without crediting it (booo!) so I just did a little Pin-research to find the original source. It was done by a writer named Kevin Austin from Style at Home. It was originally a coffee table!

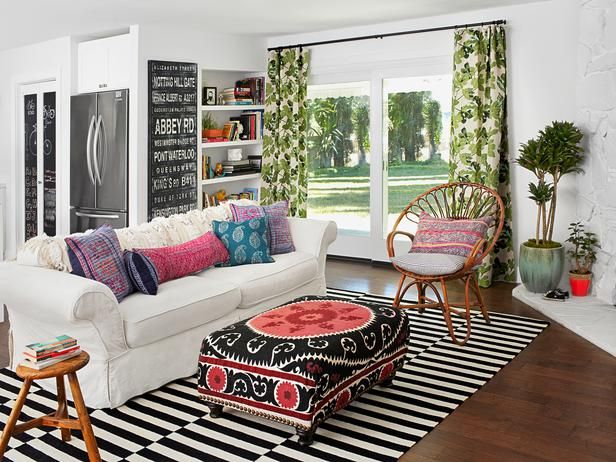
But the problem is that this crazy idea of mine was going to go into our den, a.k.a. The Mid Century Man Cave, a.k.a. Pablo’s room. As I’ve mentioned before, he’s generally very agreeable about all my design choices (see proof in I Have a Hot Pink Chair!), but this is “his” sanctuary and he wasn’t fully convinced about how the suzani would work with our Ikea black and white striped rug. Until we saw this:

It’s the home of Amber Lewis of Amber Interiors featured in HGTV magazine. (I seem to be talking about Amber ALL the time lately, like here and here. Is this becoming a serious design crush? I would say so.)
Alas! This was the visual help I needed to convince Pablo but then came the next hurdle…how does one buy a suzani?
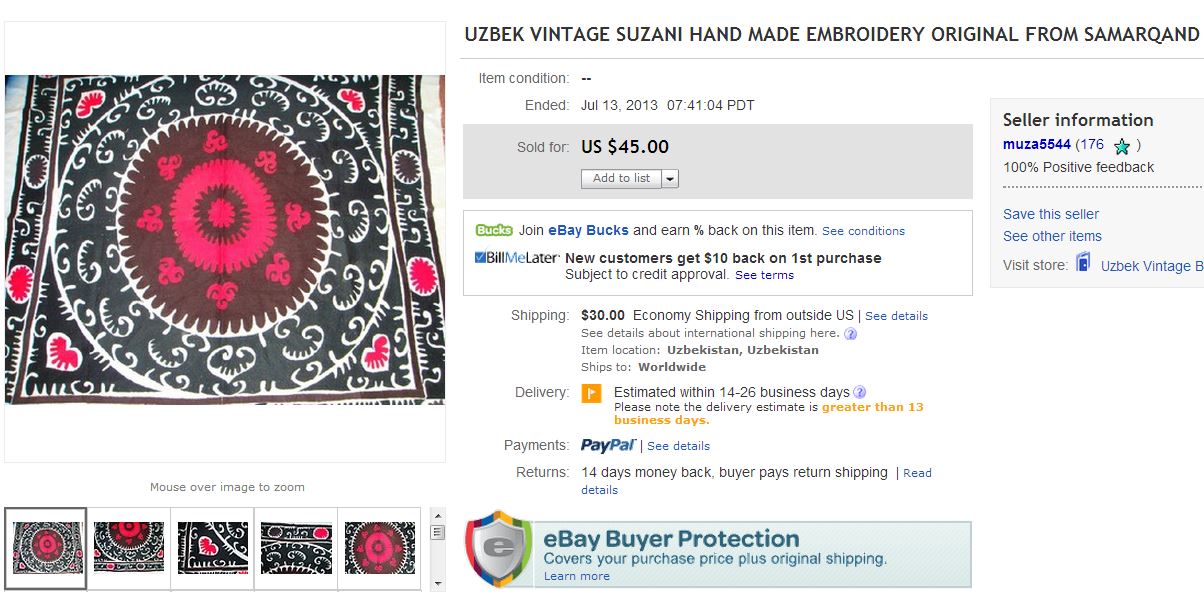
I considered lots of different sites and did a bunch of research and ended up finding a REALLY AFFORDABLE one on eBay. I snagged it for only $45 plus $30 shipping. (What? Do you have a cheaper shipping method from Uzbekistan? Yeah, I didn’t think so.) And considering that I looked at some that were well into the hundreds, I think $75 is a fair price to pay for something hand embroidered.

Looks pretty similar to this one on Wisteria for $900, dontcha think? (It’s no longer available. Does that mean some moron actually bought it?)

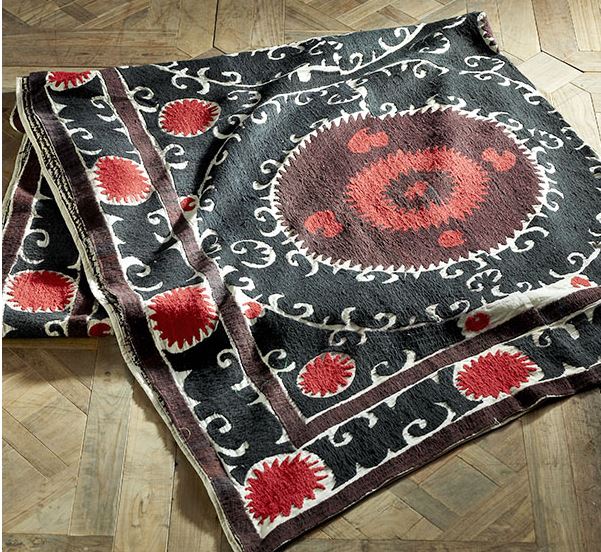
A few weeks later, we found this little bundle of joy on our doorstep.

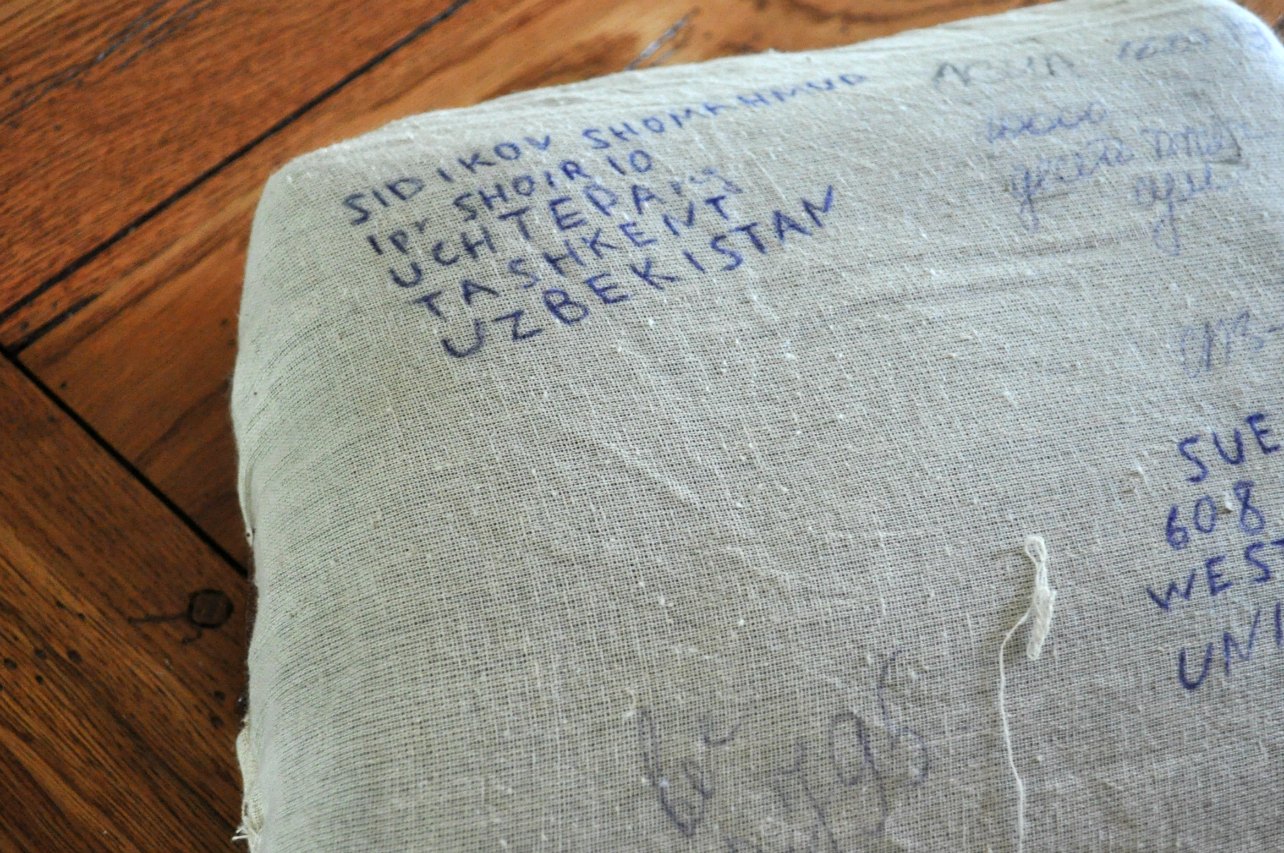
It was sewn closed and dotted with some kind of brown doody-looking substance that had hardened to seal it up.

But inside it’s unique wrapping (and two protective layers of plastic bags), there it was in all it’s hand-sewn gloriousness.

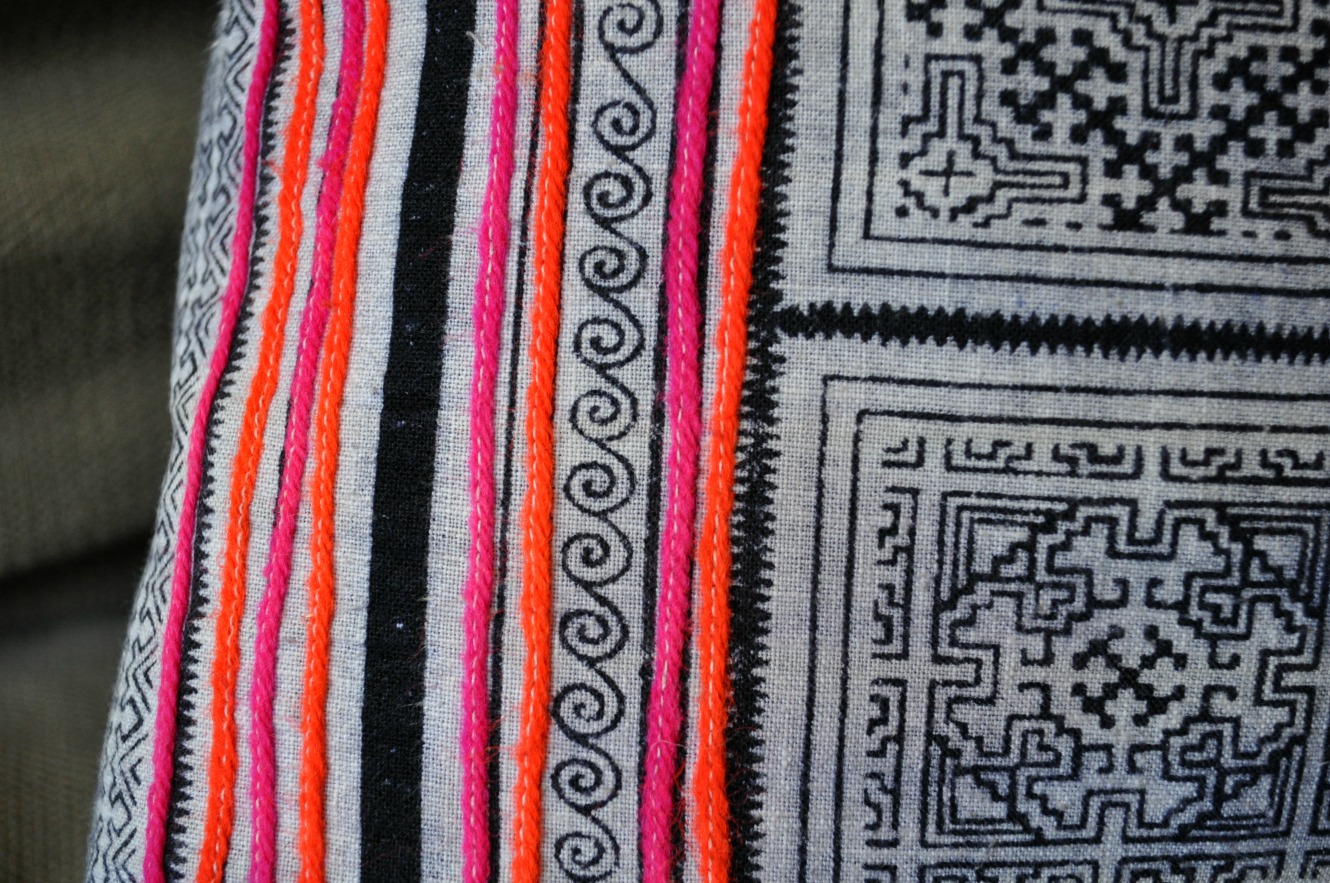
Look at the detail from the back. It’s stunning!
See that seam going across the upper left corner? That’s because several women in the family will stitch different sections and then they’re joined together later. Don’t worry. You can barely tell from the other side. (But ironically, you can see the seam in the $900 Wisteria one shown above!)

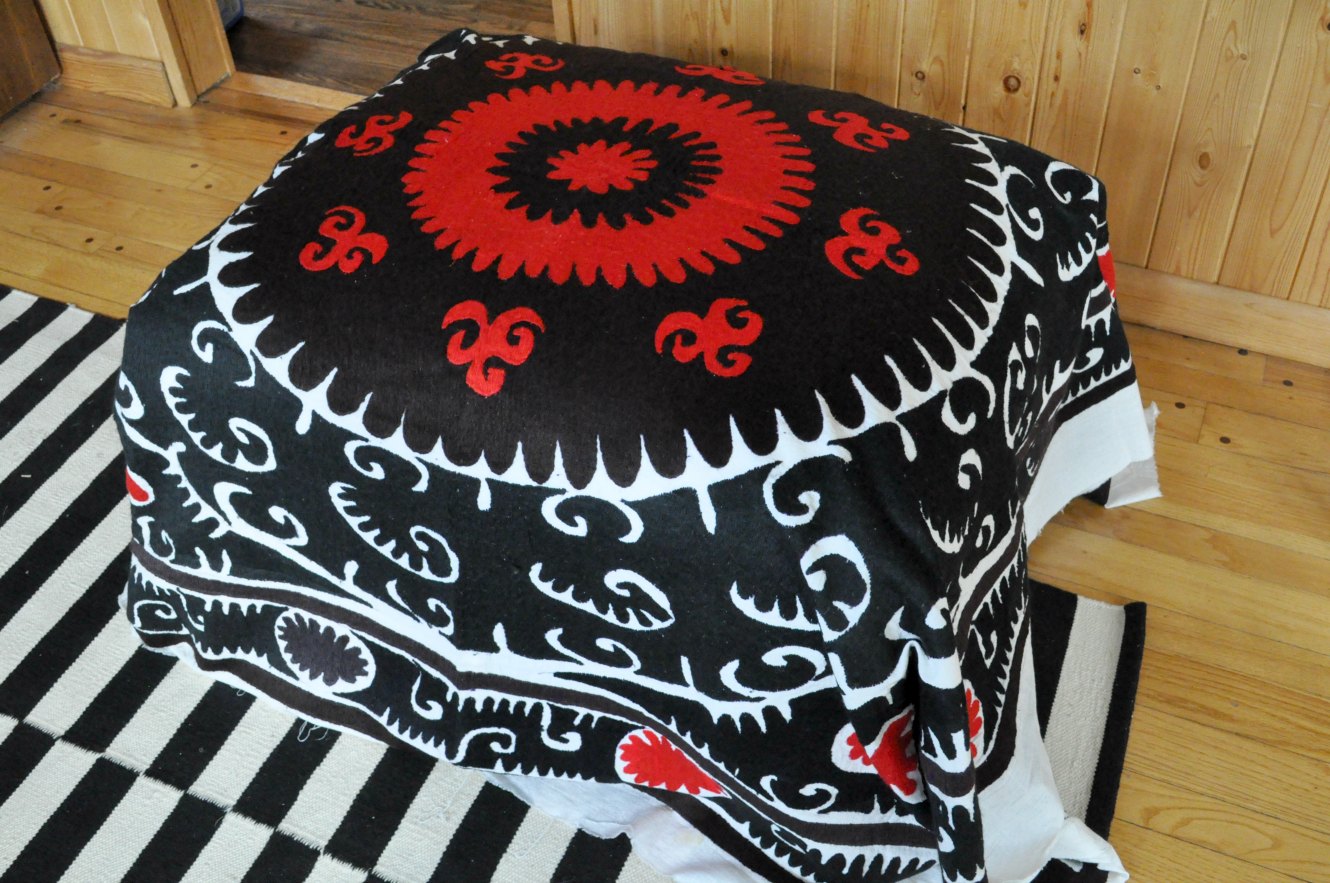
But I was a little sad to see that if I centered the red medallion on the ottoman, I would lose all of that beautiful detail at the edges. So, I considered covering it off-center, like this pic below so I could get at least two of the edges on it. (I now know that was dumb and would have been sacrilegious to my beautiful suzani. Don’t worry. I saw the ere of my ways.) After considering a DIY (I mean, I even had out the staple gun and some scissors), I chickened out and decided to have a pro do it. And I am so glad I did.

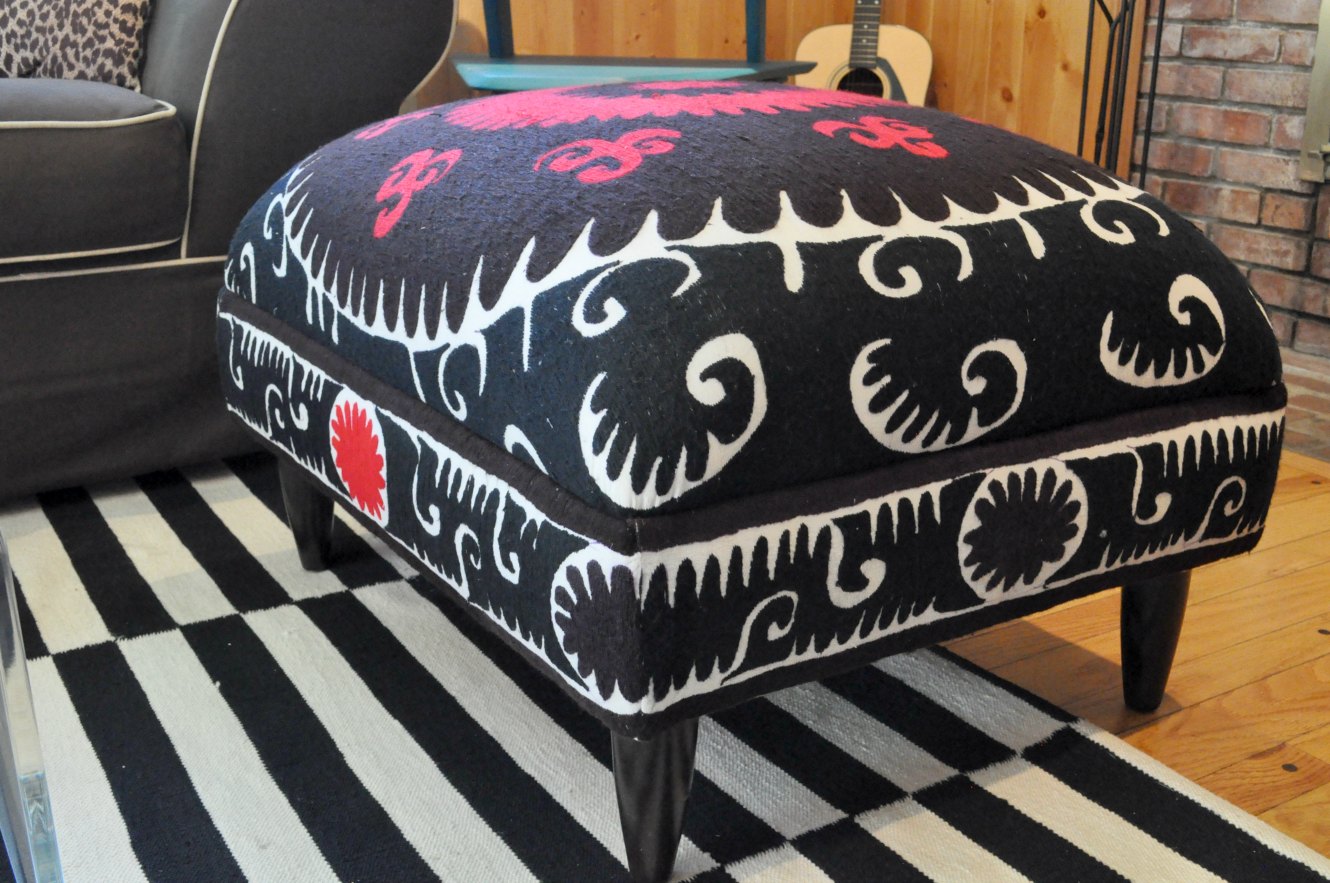
Garwood Interiors knew just what to do to center the medallion and preserve the edges of the suzani. Isn’t it a beaut? (And soooooooo much better than what me and my staple gun would have done!) And he only charged $150. I don’t really know if that’s a lot or a little for work like this but it felt totally worth it to me.

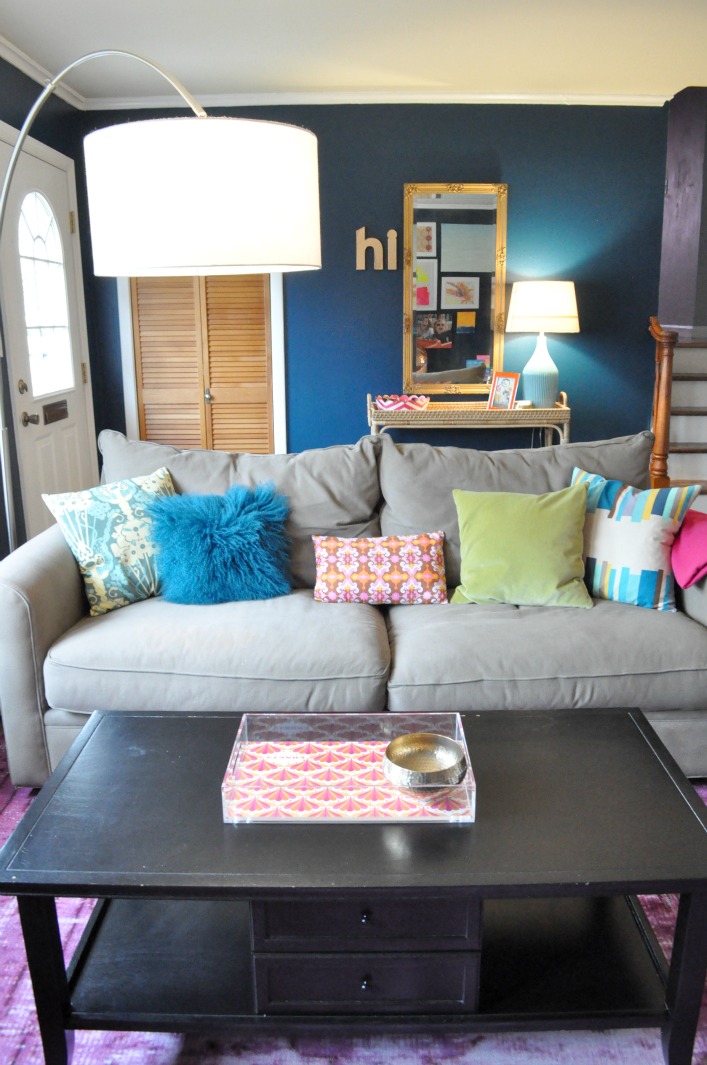
And now she’s sitting in the man cave (the most well lit one in the world) with her new friend the vintage credenza (but that’s another happy story for another day).

I like how the brown embroidery around the red medallion, ties into the brown couch that–until now–had nothing to do with anything else in there.

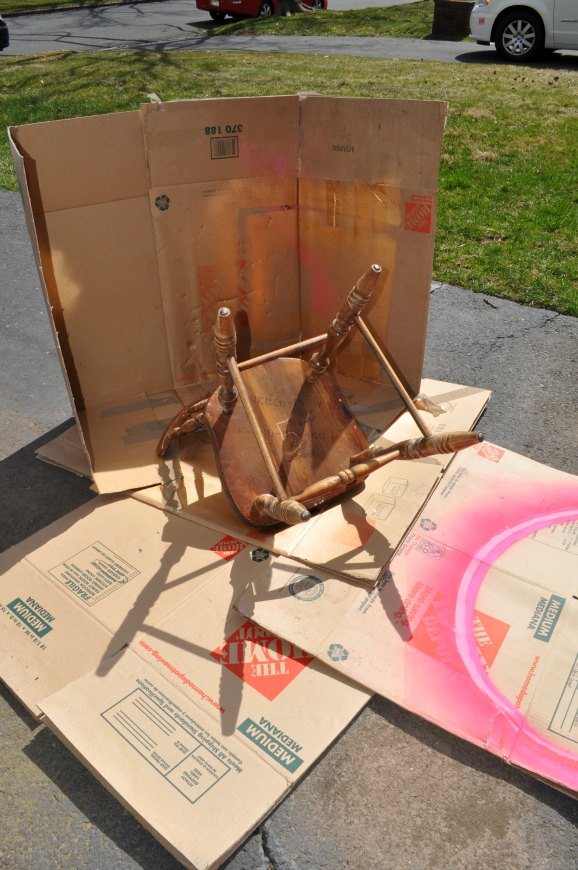
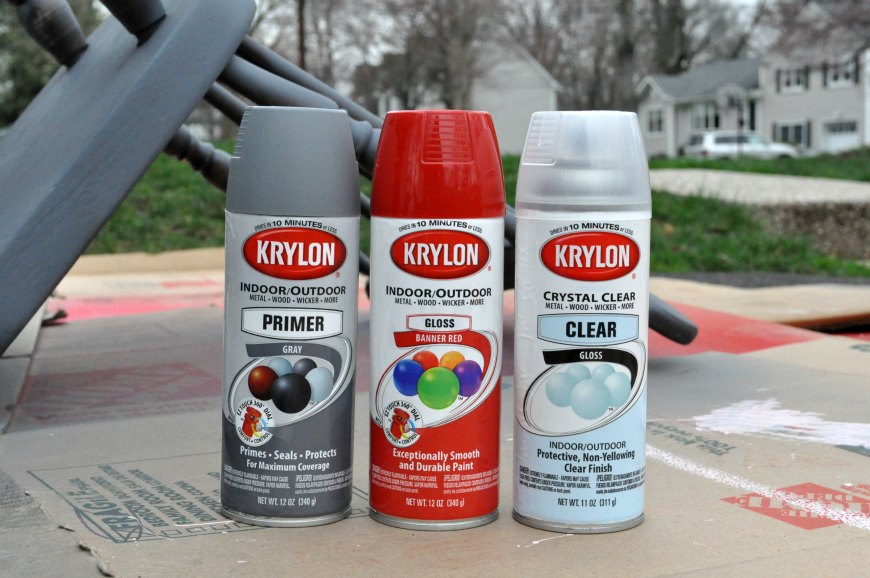
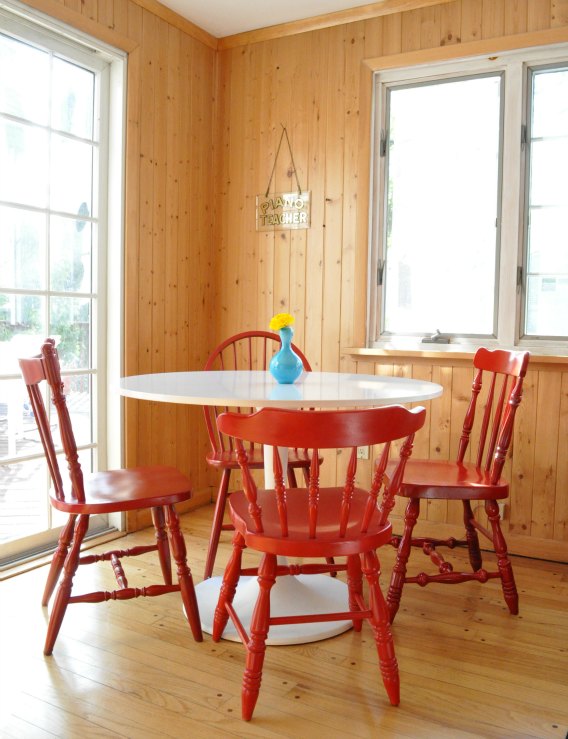
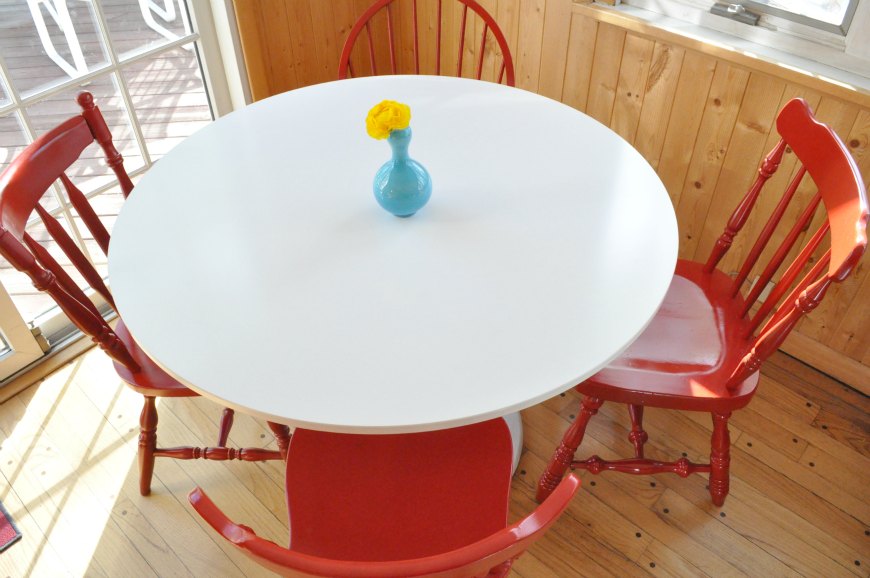
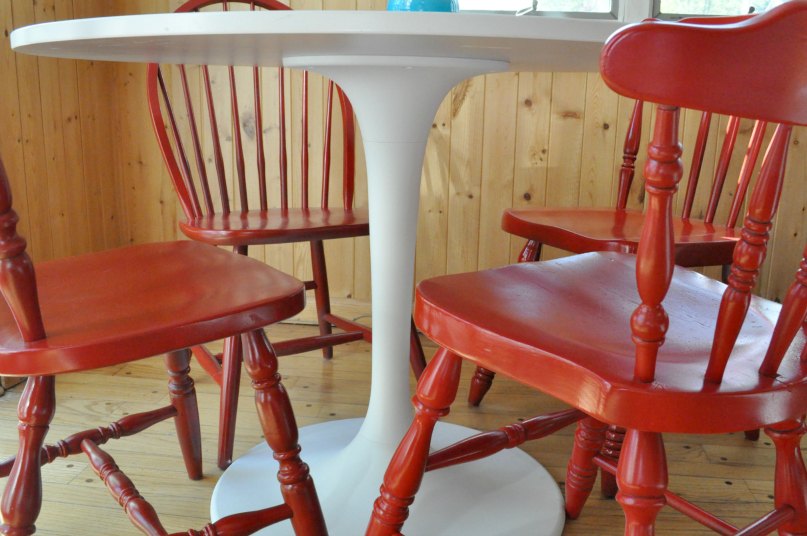
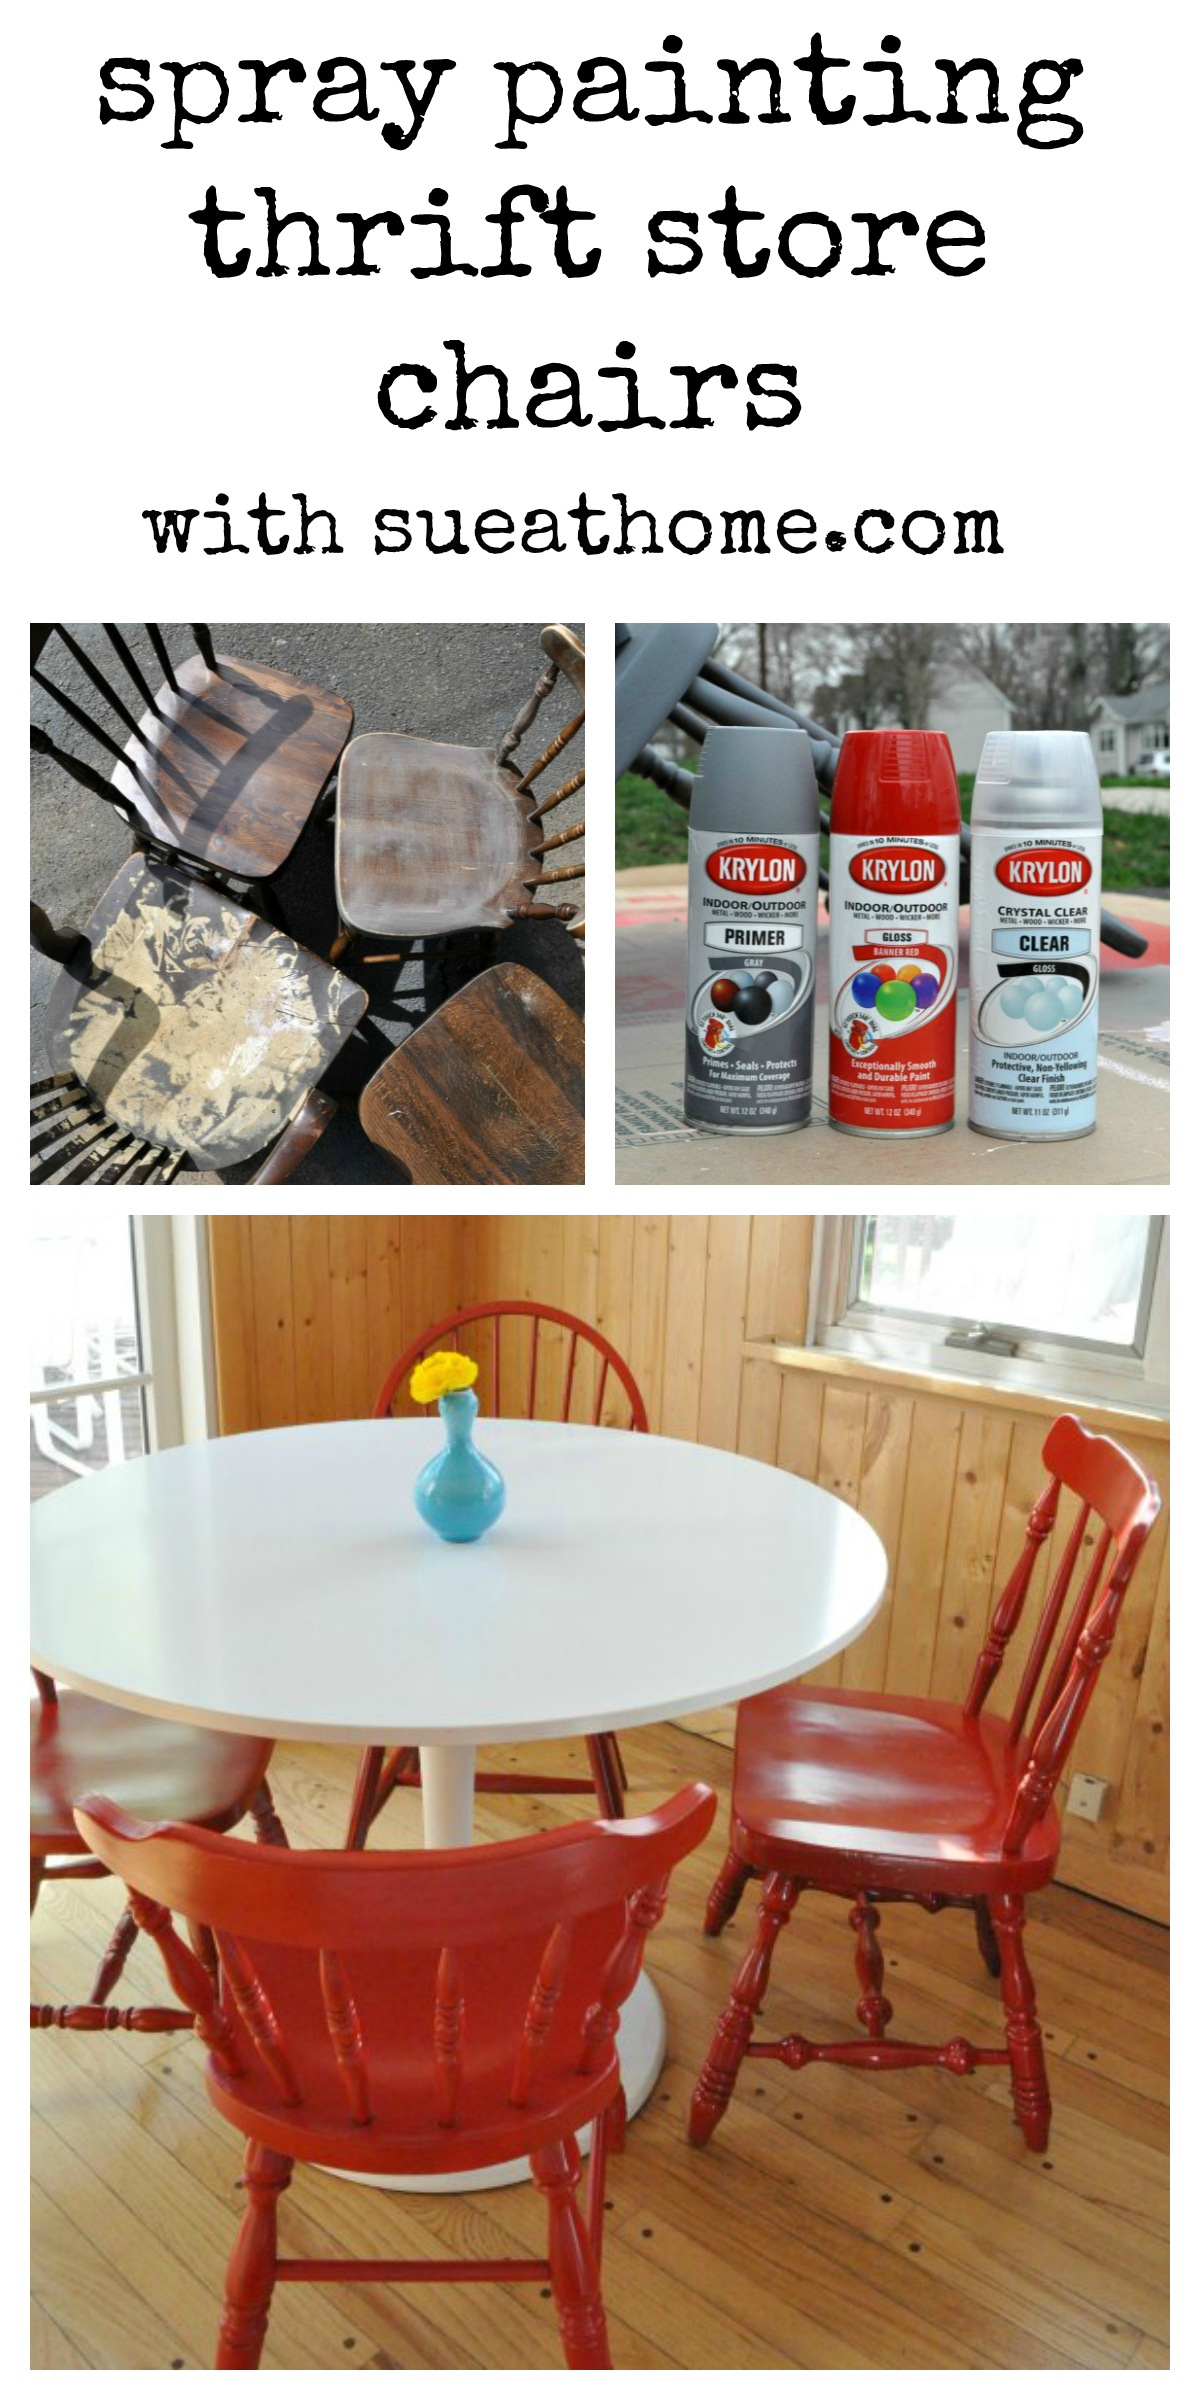
I know I owe you a lot more pictures of the room. It’s one of the places that I’ve barely shared with you (aside from a peek during the blackout after Sandy when we were dancing in the dark and when we looked at my spray painted chairs) but I promise that some “in progress” pics are coming very soon.
Thanks to my parents (who are celebrating their 48th wedding anniversary today! Happy Anniversary Mom and Dad!) for giving us the ottoman. And thanks to you for reading this way-too-long post!
XO
Sue at Home


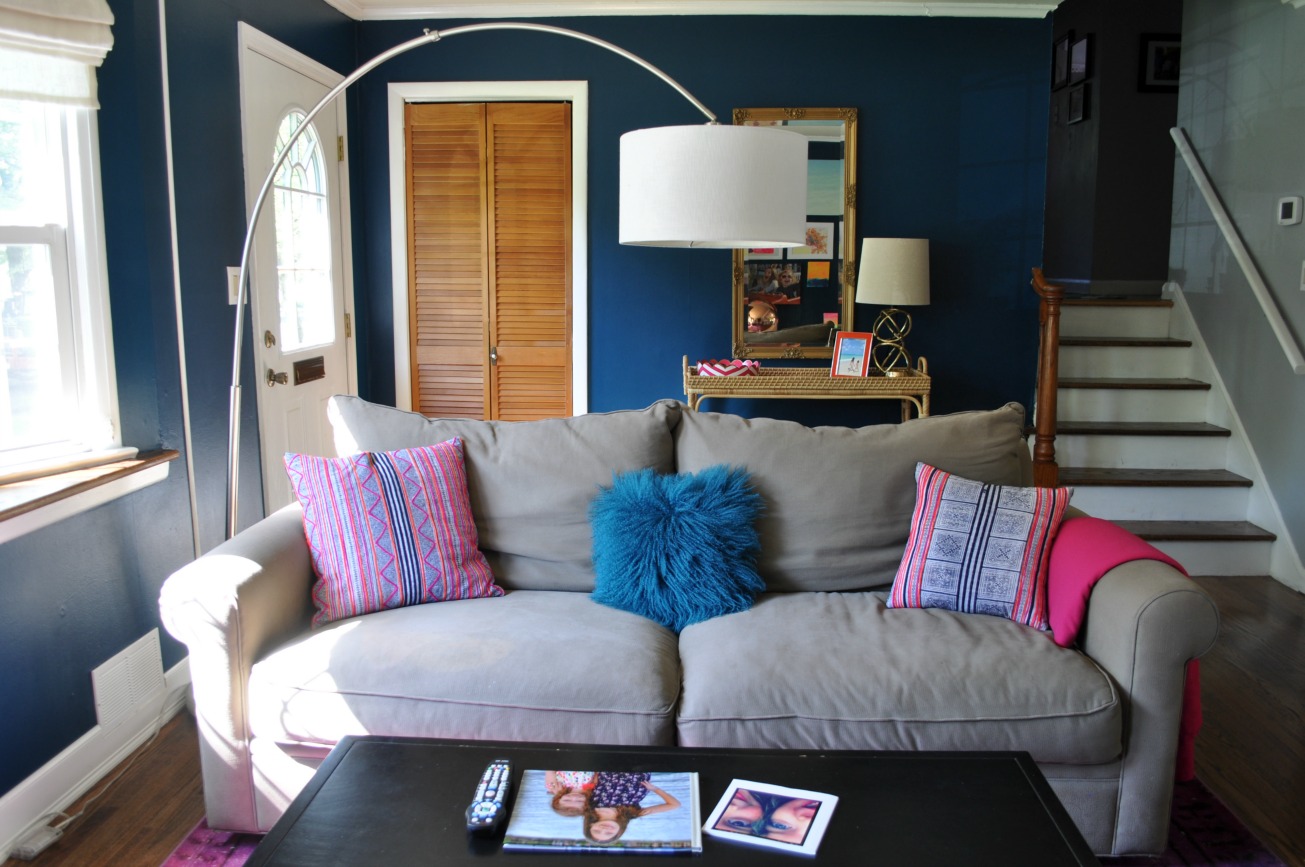

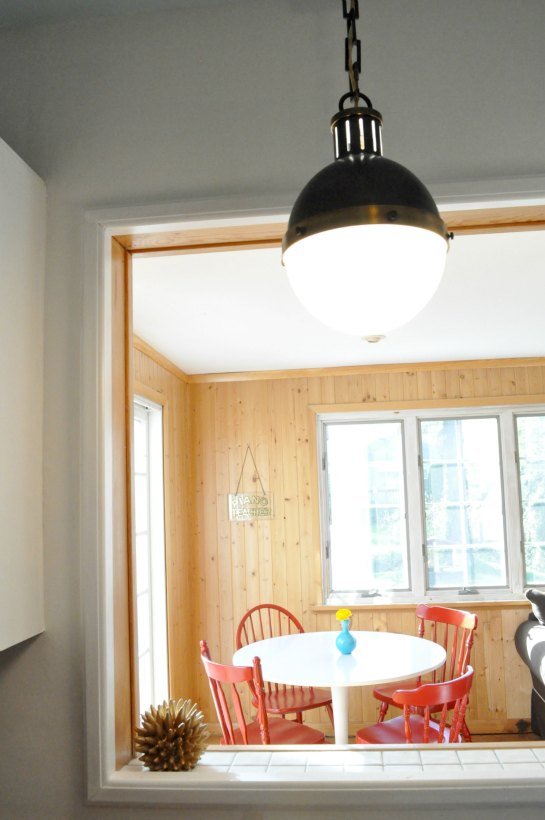
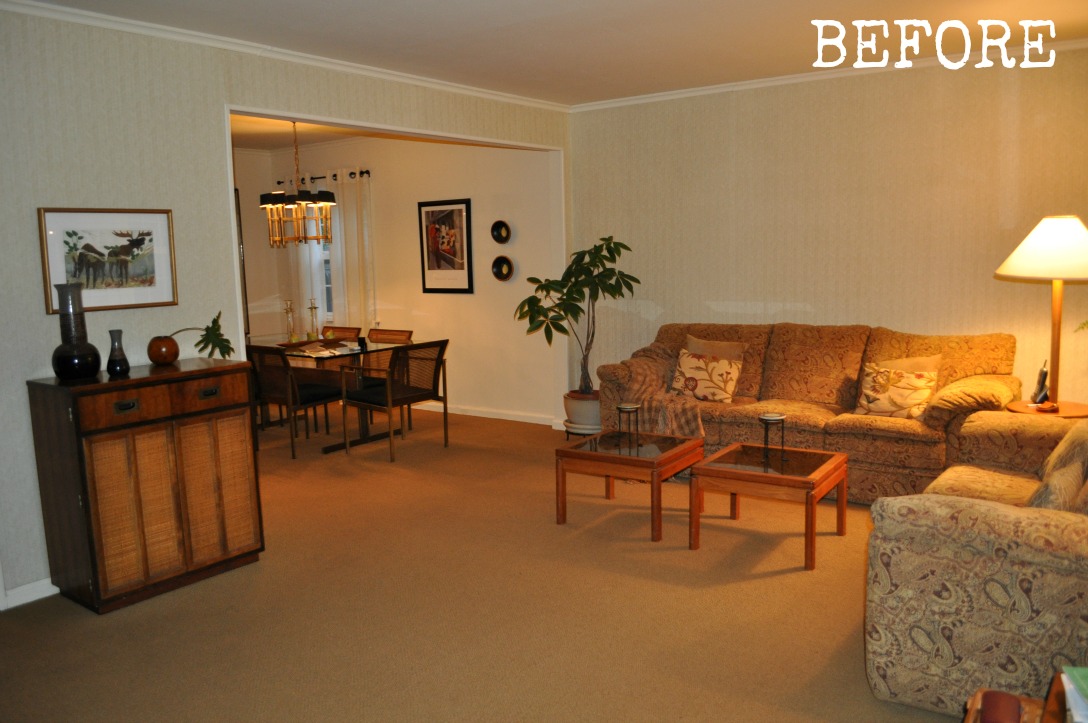
 Sidebar: And see the change in that doorway to the right? I painted the hideous wood paneling in the playroom (including that stairwell that leads to it) so I’ll be telling you all about that change soon. (And yes, that means that I totally broke my resolution!)


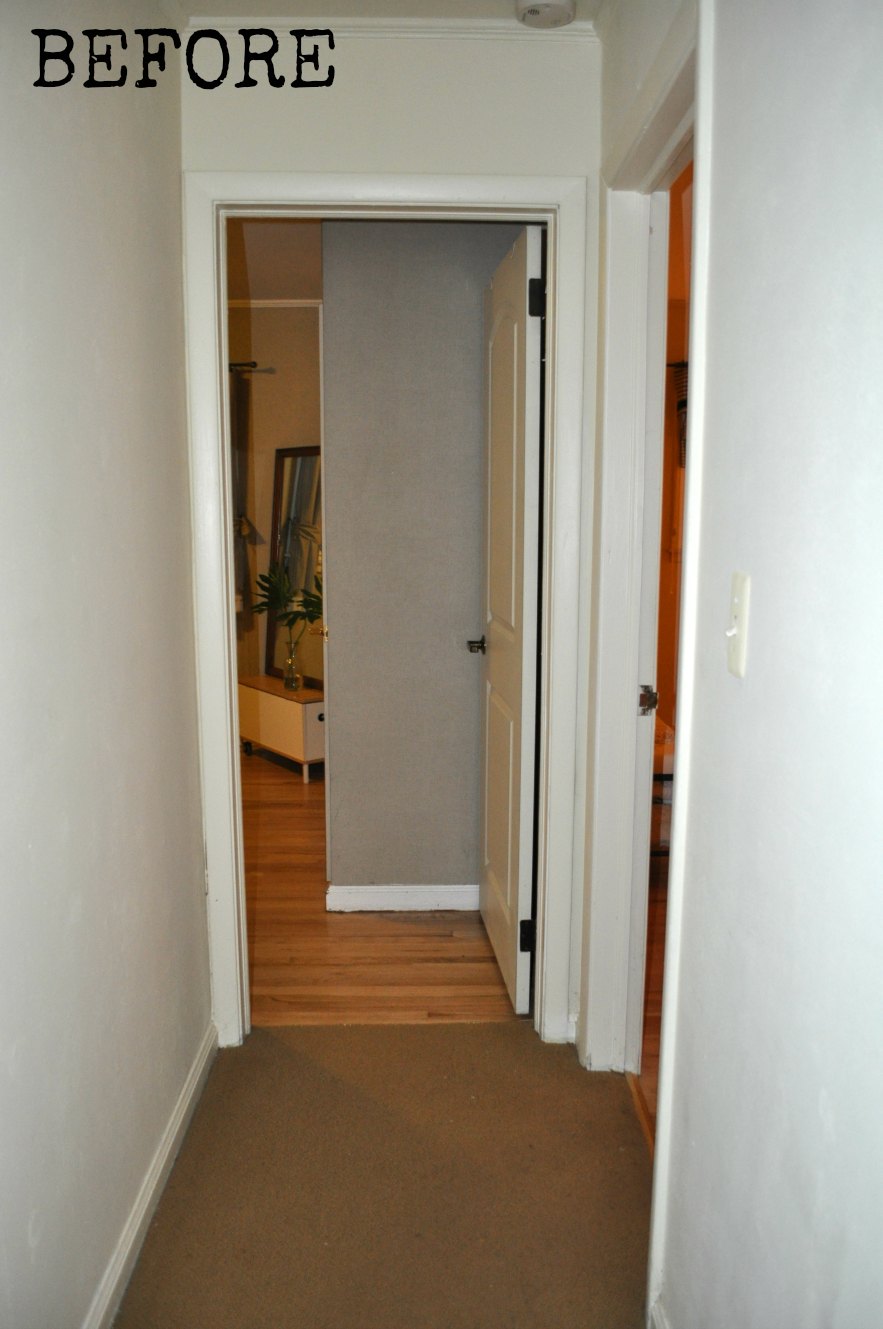
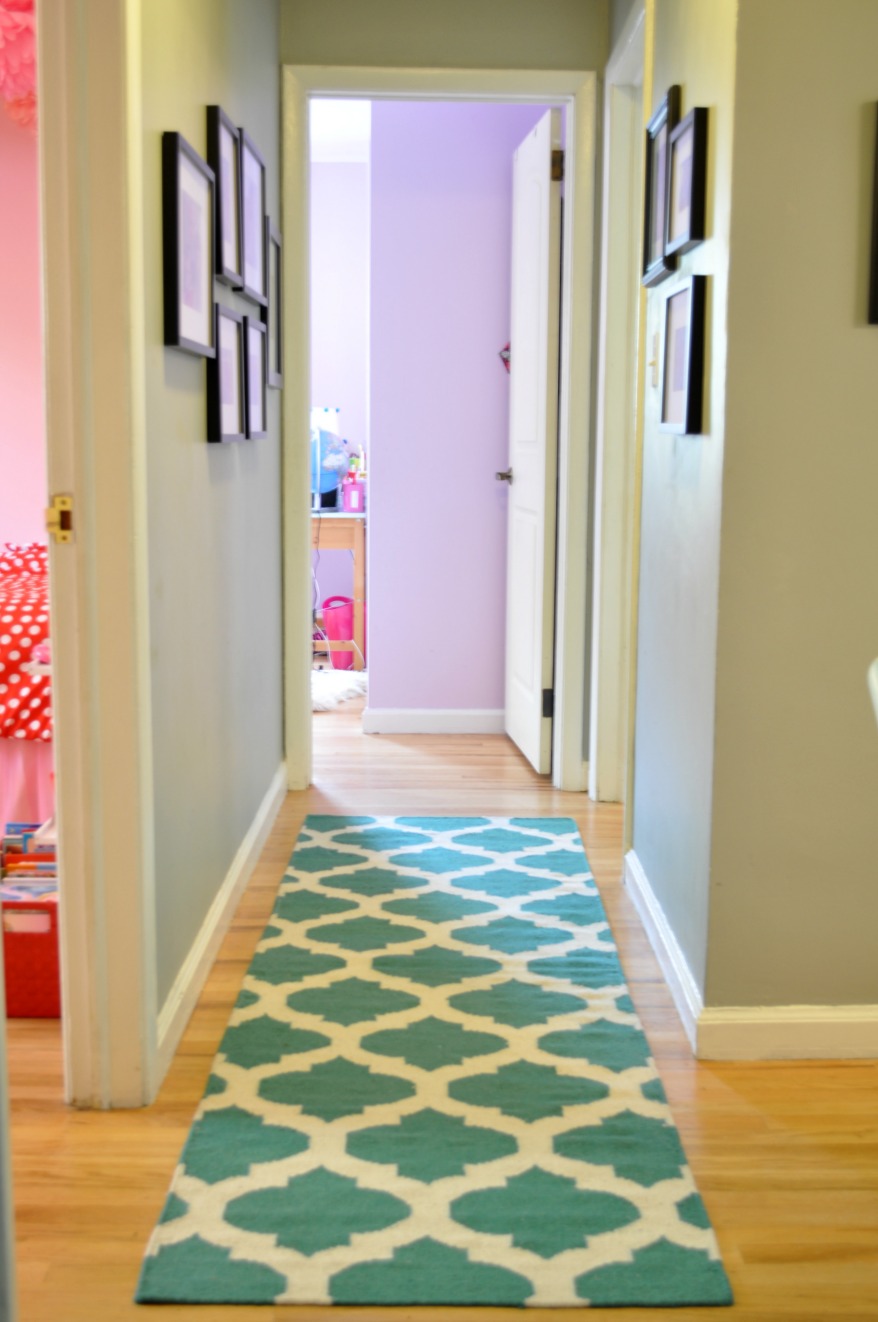 When you last met my hallway…what? You’ve never met my hallway? Oh the shame. Let’s get better aquainted.