
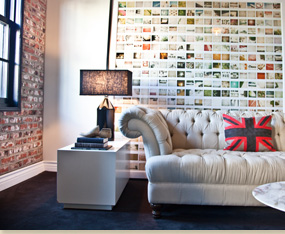
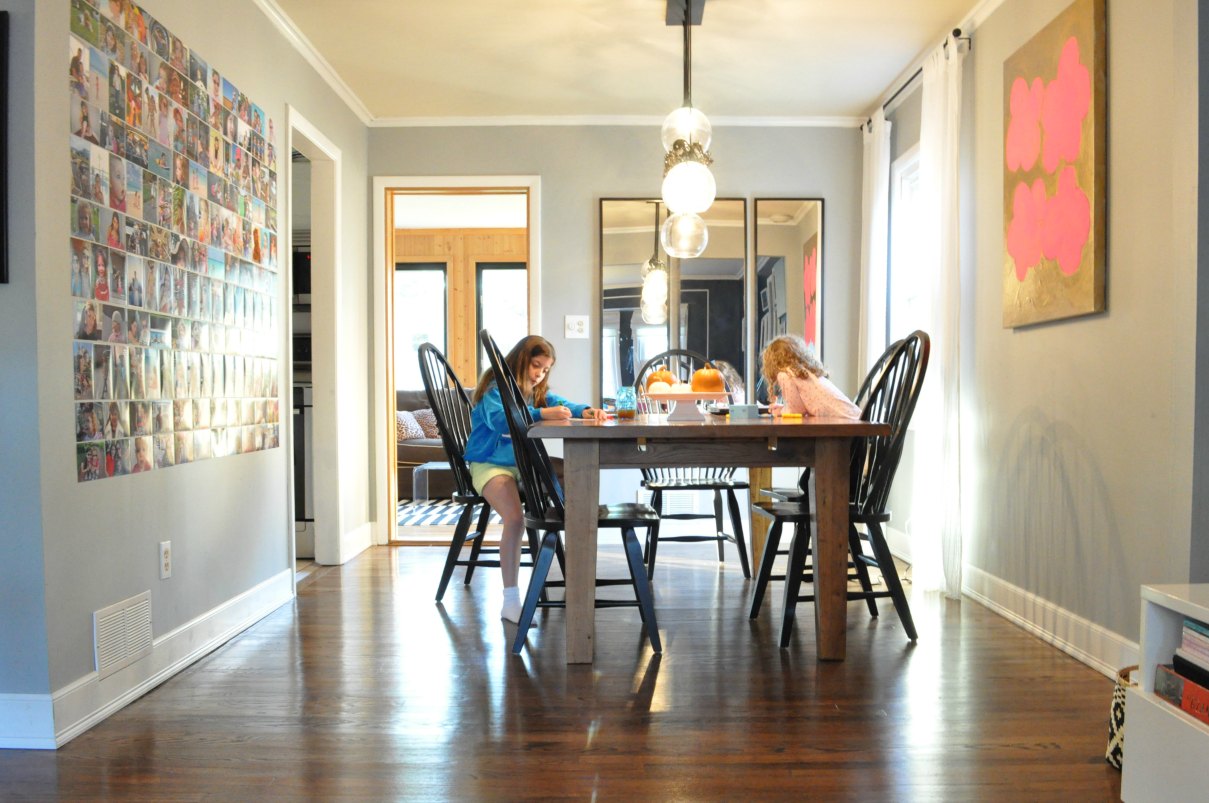
I first told you about my obsession with oversized photo displays back in October 2012 when I spied this awesome picture from Palihouse on Dilly Dallas.
Just to recap: I know that displaying personal pictures might not be #1 on every decorators must-do list (in fact, it’s usually on their NO list) but to me personal pictures are the way to keep a home looking, well…personal. And here’s the thing: I take a LOT of pictures. So, instead of picking a few great ones, framing them, hanging them up and calling it a day, I take a lot and then… they sit in my computer (and on Flickr and Shutterfly). The good part is that I don’t have to make any decisions (yeah!) but the bad part is that no one else gets to see them. And that’s just wrong. I mean, how can I keep pictures like this to myself:

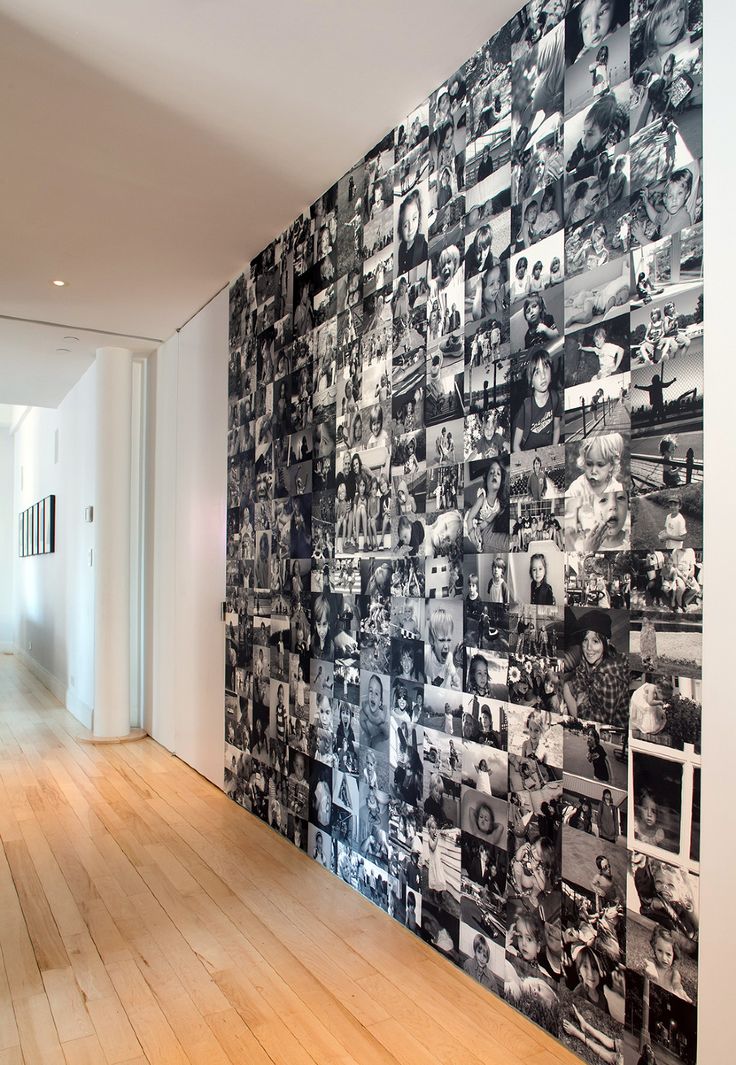
So, I thought long and hard about how to do my photo wall. Should I create photo wallpaper like this Tribeca home by Rinaldi Interiors?
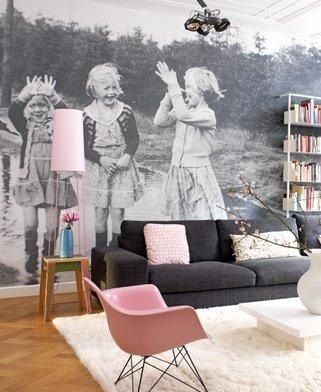
Nope. Too permanent. I want something that’s changeable. That certainly rules out something like this. I mean, how could I choose just one picture?
Hmm…maybe a mix of small frames, like this. (Yup, that’s Soph modeling in LHJ!) But, nah. Again, it’s too permanent and too much work to use the huge number of pictures I want to use.

So, I decided to just cover a wall with pictures. No frames. Nothing permanent. I even thought about painting on some magnetic paint and then using tiny magnets but I figured there was an easier way. Tape. Just little rolls of Scotch tape on the back of each pic. But it was a little more methodical than just tape and pictures. Here is how I made it happen.

Step 1: Set some rules for the pictures you want to include. Color or black and white? All horizontal, all vertical or a mix of both? Various sizes or just 4×6? Just immediate family, extended family or include friends, too? I decided on:
– color pictures (I mean, how could I go black and white when I’ve got a kid with baby blues like Lily’s?)
– a mix of horizontal and vertical (because I clearly have problems editing)
– just 4×6 (to keep it to a graphic grid)
– and only immediate family. I know that family part might be confusing but there are other places to display extended family and friends and I wanted to keep this more focused.
Step 2: Order Prints. I took quite a few long nights on the couch going through all my pictures and ordering HUNDREDS of them. I figured that it had been years since I had actually ordered prints so even if some pics didn’t make it into the mix, they were still lots of favorites so it wouldn’t hurt to have some extra prints on hand. (I highly recommend using a print plan on Shutterfly to keep the cost down.) You can imagine my joy when this arrived:

Step 3: Edit into groups. First I split them into horizontal and vertical pictures and then I created three sub-categories: 1) Sophia without Lily (could include me and/or Pablo), 2) Lily without Sophia (again, parents are okay), and 3) Miscellaneous (could be just me and Pablo, all 4 of us, just him, just me, or the two girls together). Now I know this sounds slightly insane (or let’s just say it…totally anal) but there was a reason for the madness. I really wanted to include an equal number of each kid. Because you know they’ll be counting! And when one kid has been around for 8 years and one has only been around for 5, you can end up with an uneven mix.
Step 4: Use a level to mark your middle line and start taping. I just used one quick roll of scotch tape on the back of each one as I placed them. I tried to keep it balanced with colors and close-ups vs. pulled-back shots. And I tried a balance of posed and candids. And even a good mix of various ages. It looks random but there was a method to the madness.

I used the level again every few rows to keep myself on track but I just eyeballed the distance between the pictures. Once I had 4 rows of vertical pictures (with 16 in each row), and 4 rows of horizontal (with 11 in each row), I noticed a problem: I had a lot more horizontal left over. So, I added a few extra rows of horizontal on the top and the bottom. And I have every intention of adding more rows over time but don’t tell Pablo: he thinks there are plenty already. But let’s face it; is he really going to fight seeing more pictures of his kids? I think not.

After I stood back and took a look, I had to move a bunch around to keep it balanced. But once I had them in the places I wanted them in, I retaped each one with a piece in each corner. And there you have it: my new favorite thing in the whole house.
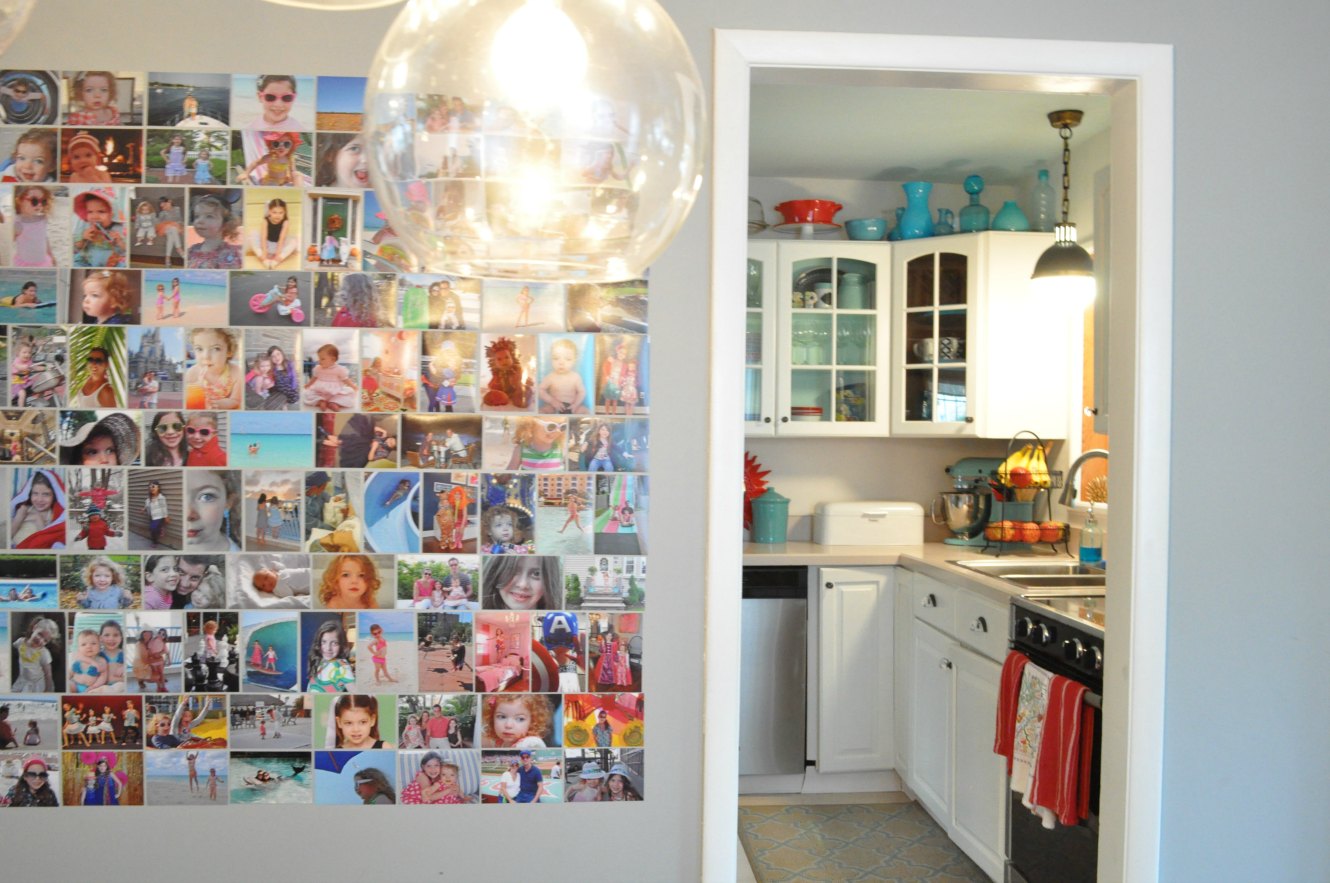
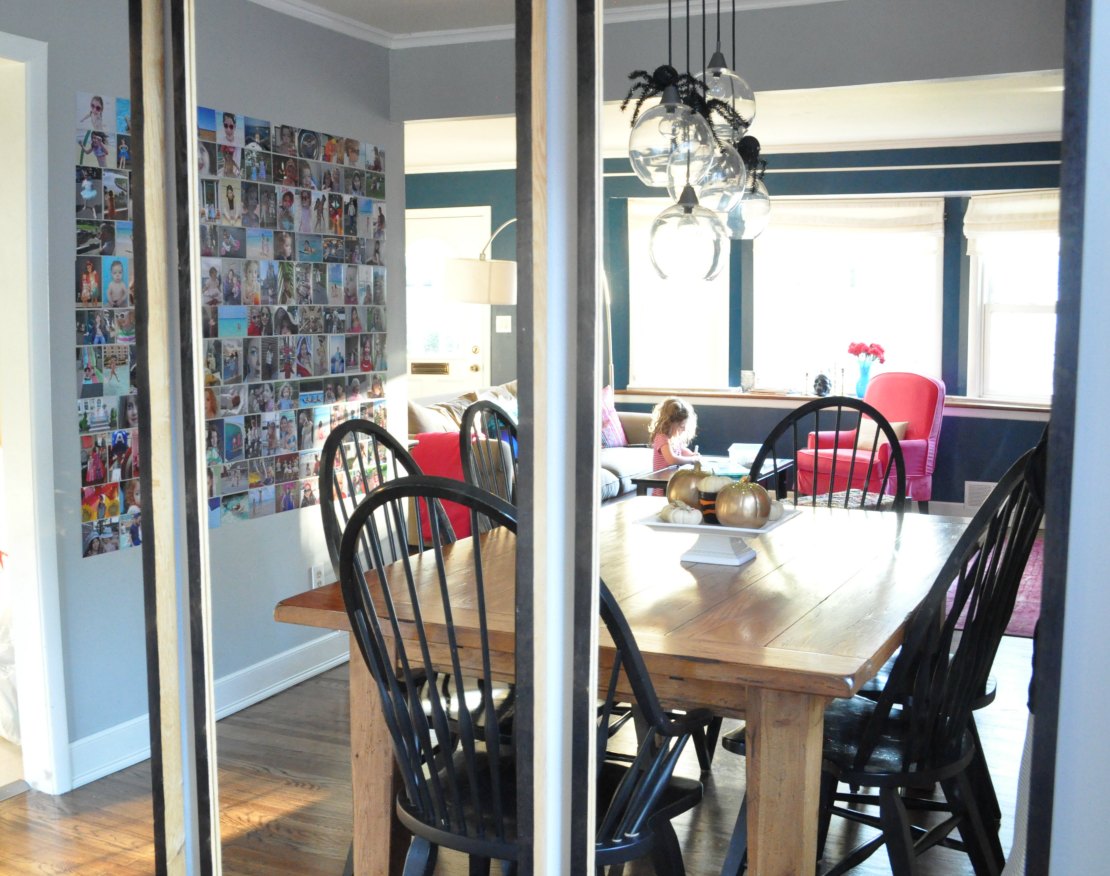
We love sitting at the dining table and looking at all the awesome memories. And guests really love it too. It’s certainly a conversation piece!

Let’s take a closer look at some ridiculously geeky stats about the 141 pictures that made the cut:
106 were taken outdoors (that’s 75%!).
There are 56 pairs of sunglasses, 44 bathing suits, 27 hats, 11 Halloween costumes and 5 appearances by Sophia’s beloved silver sequin-covered cardigan.
Almost half were taken close to home in New Jersey or New York, while a whopping 23% of them were taken in Aruba (more on that here and here). Obviously, we like taking pictures on vacation because 19% were in New England and another 19% were in Florida. Nevis and the Bahamas round it out with one each.
I already mentioned that there are 87 pictures of each of the girls. There are 25 of Pablo and only 17 of me. And the reason for that lies here: I took 84% of them.
(Ignore the spiders on the lamp. I took these in October!)
So, I guess the take-away from those stats is this: I’ll continue to get outside to get some great shots, I’ll never take a vacation without the camera, and I need to give someone else the camera more often.
So, tell me…how do you display your family pictures? I’m currently working on a display of extended family pictures in our hallway. The plan is to use all black and white photos and solid black frames with mattes. Wish me luck!
XO
Sue at Home
P.S Congrats to Katie who won my Minted giveaway!


I THINK ITS REALLY GREAT. Your the best!!!!
hello! You say you used scotch tape on the backs?? What kind?? For each picture! Did you use double sided? Seems like it would ruin the paint?? Can you be more specific for me – my daughter would like to do this and I don’t want to get into something that I don’t have down the specifics. Ha!! :). Thank you!!
Cindy
Hi looks great but what about dust on the pictures? I thought about covering the pictures with plastic so the corners don’t bend? Is this a good idea ? And sorry what do you stick pictures with on the wall ? I have been waiting to do this for so long I have a long hall wall which I’m starting now as you gave me hope it can work so thank you. Can I just put them up random though? And have you reprinted yours or all originals as I want to use originals thank you sharon
Hi Sharon! I haven’t had any issues with dust. I suppose you could laminate them if you wanted. I do have some issues with corners curling but I just reinforce the tape on the backs. It’s just small roles of scotch tape on the corners and they’ve stayed up really well. The post has lots of details about how I chose which pictures and how I kept them straight. You should do it! We’ve had ours up for years — I’ve updated it a few times — and my kids’ friends love checking it out when they come over!
https://photos.app.goo.gl/U8fAgf4m3YfTCpRo8
I love what you did! And I am the same way about thinking mythotically about everything. I like to look at other people’s creations then come up with my own. The link above shows what I did with pictures. My daughter and I love to paint with acrylics so there’s some paintings we did that we added to our wall. Tell me what you think! Hopefully that link works. Have fun creating!
I never saw a reply about the kind of Scotch tape!!
America women want to know!! Double sided seems like the correct thing to use but I want to be sure. You said small roll, not sure what that means. I was going through old pics yesterday and some had double sided tape that was still sticky!! (Many years old!)
I love the wall you did!! I just have to figure out where??? Thanks in advance for a quick reply!!
I’m ready!!
I wish I had better advice for you, Beverly. I used scotch tape and it has stayed on the wall for YEARS but I’m quite sure that when I take them down, I’ll have a big sticky mess. I’ll probably mount the photos into a book by sticking them on paper and then clean up the wall with some kind of adhesive remover. It’s okay with me though! It’ll be worth it to have this photo display up for so long. Good luck!
Hi! Loktite Fun Tak OR Gorilla Mounting Squares for walls — both are repositional and removable, and much easier and faster than tape rolls! I used them, way back, in our college apartment. They were easy to use, and after three years, I carefully removed (needed a manicure after!) and then gently wiped the wall with a warm, damp rag, moving in a singular direction. Everything came off. We got our full deposit back! Lol! I used them again for a small bathroom wall collage, and if a photo starts to curl a corner, I just add a tiny bit of fun tak. (No, I don’t get any compensation; just my two cents!) Enjoy, Kate
Thanks for the tip!!
Thanks for the idea! I have a problem of taking ALOT of photos!